

How to Use a Disposable Vape Pen with Button Safely
You've got the box open, the device is in your hand, and the small button is the part that still feels slightly mysterious. If you're an adult customer age 21+ trying a button-operated disposable for the first time, the easiest way to approach it is to treat the device like a simple machine with a short checklist, not a gadget you need to guess your way through.
A button exists for control. It can help you power the device on and off, and on some models it changes how the coil fires. It does not tell you that the vape is harmless, and it does not change the product's age restrictions, which is why U.S. federal Tobacco 21 rules cover e-cigarettes and other covered tobacco products, including sales to anyone under 21 (FDA Tobacco 21 guidance).
For a first-time adult user, the key skill is learning the sequence, then learning the limits. One device may use five quick clicks for power, another may handle additional functions differently, so the printed instructions on the exact model always matter more than a habit from a previous vape. If you want a broader brand-specific walkthrough after this guide, Pink Smoke Shop also has a separate HQD disposable vape guide.
Table of Contents
- Your First Click With a Button Disposable
- Unboxing and Pre-Use Inspection
- Powering On, Inhaling, and Releasing the Button
- Why Button Patterns Vary by Brand
- Button vs Draw Activated Disposables
- Charging Reusable Button Disposables Safely
- Troubleshooting and End of Life
Your First Click With a Button Disposable
The first press should feel deliberate, not rushed. Before you try to inhale, use that first click to learn what the device is doing. It tells you whether the unit is awake, whether the button controls activation, and whether the model expects a specific press sequence before it fires.
Start with the device you actually have
A button disposable can look almost identical to a draw-activated one from the outside. The label, packaging insert, and printed icons matter because they tell you whether the device is button-activated, inhale-activated, or both. A quick read now saves you from pressing a button on a model that was meant to activate by inhaling only. If you want a broader brand-by-brand reference after this guide, Pink Smoke Shop has a separate HQD disposable vape guide.
Practical rule: treat the button as a control, not as proof that every button model behaves the same way.
On a button-operated model, the button usually controls power and the heating cycle. That means it is part of the start-up routine, not decoration, and not a sign that the device is ready the moment you open the package.
Learn the exact control pattern for that one device, then stick to it. Button operation tells you how to start the device, but it does not tell you anything about product quality, nicotine content, or whether the device is appropriate for anyone under 21. Write down or photograph the click pattern printed on the insert before you discard the packaging, so you can confirm the sequence later without guessing.
Unboxing and Pre-Use Inspection
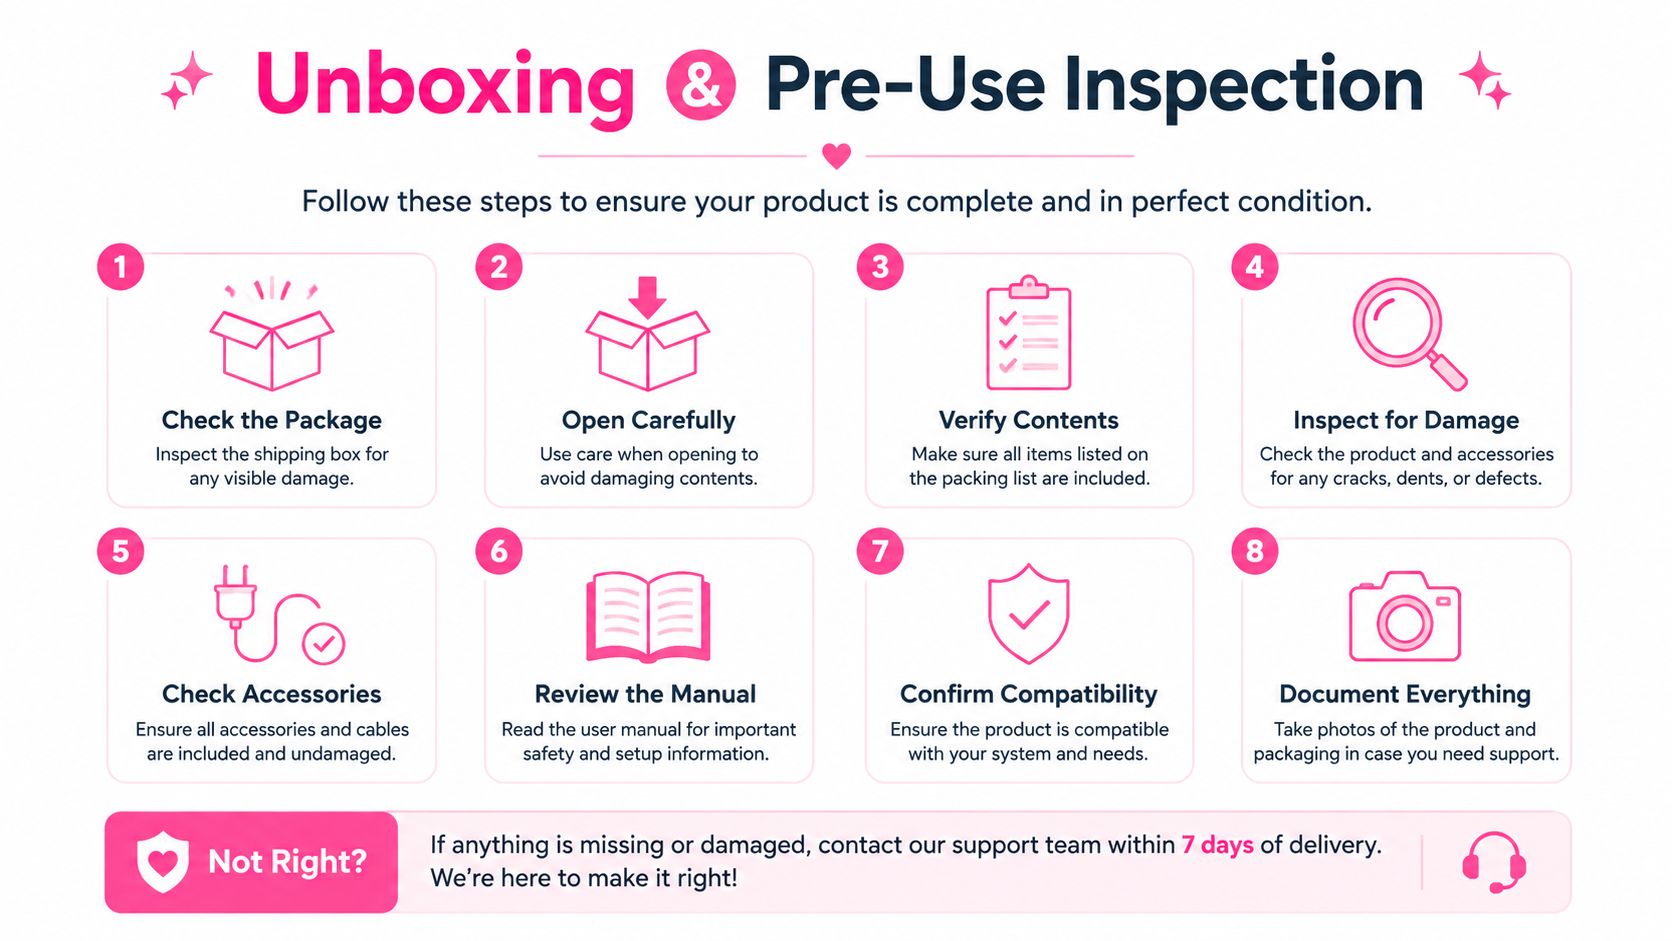
Look over the outside before you touch the button
Start with the outside of the package and the device itself. You're looking for obvious shipping damage, loose parts, cracks, residue, or anything that suggests the unit has been compromised before first use. A disposable should stay sealed until you remove only the packaging the manufacturer intended you to remove.
Inspect the mouthpiece and airflow openings for film, a silicone plug, or a sticker that could block the draw. If the device came with a label or printed instructions, read them before removing anything else. That's the part many first-time users skip, and it's usually where the model-specific control pattern is spelled out.
Confirm the activation type before you press anything
Some disposables use a button, some fire when you inhale, and some support both. You can usually tell by the label, the button placement, and the manufacturer's instructions, but you should never assume based on shape alone. A device that looks “button-like” might still be inhale-activated.
Only remove external packaging and any external plug or film. Do not disassemble the sealed unit, because that crosses from normal setup into a repair attempt. The coil, battery, and reservoir are typically built as an integrated system, so the device is meant to be used as packaged.
If the unit looks damaged, wet, cracked, swollen, or odd in any way, set it aside before use and keep it away from heat and flammable materials.
You're aiming for a clean first session, not a surprise malfunction. A few seconds of inspection makes the rest of the process more predictable, especially when the button is there to control firing rather than compensate for a problem.
A short visual check now also helps later if the device doesn't respond the way you expected. When you know the exterior is intact, you can separate normal behavior from a real fault more easily.
Powering On, Inhaling, and Releasing the Button
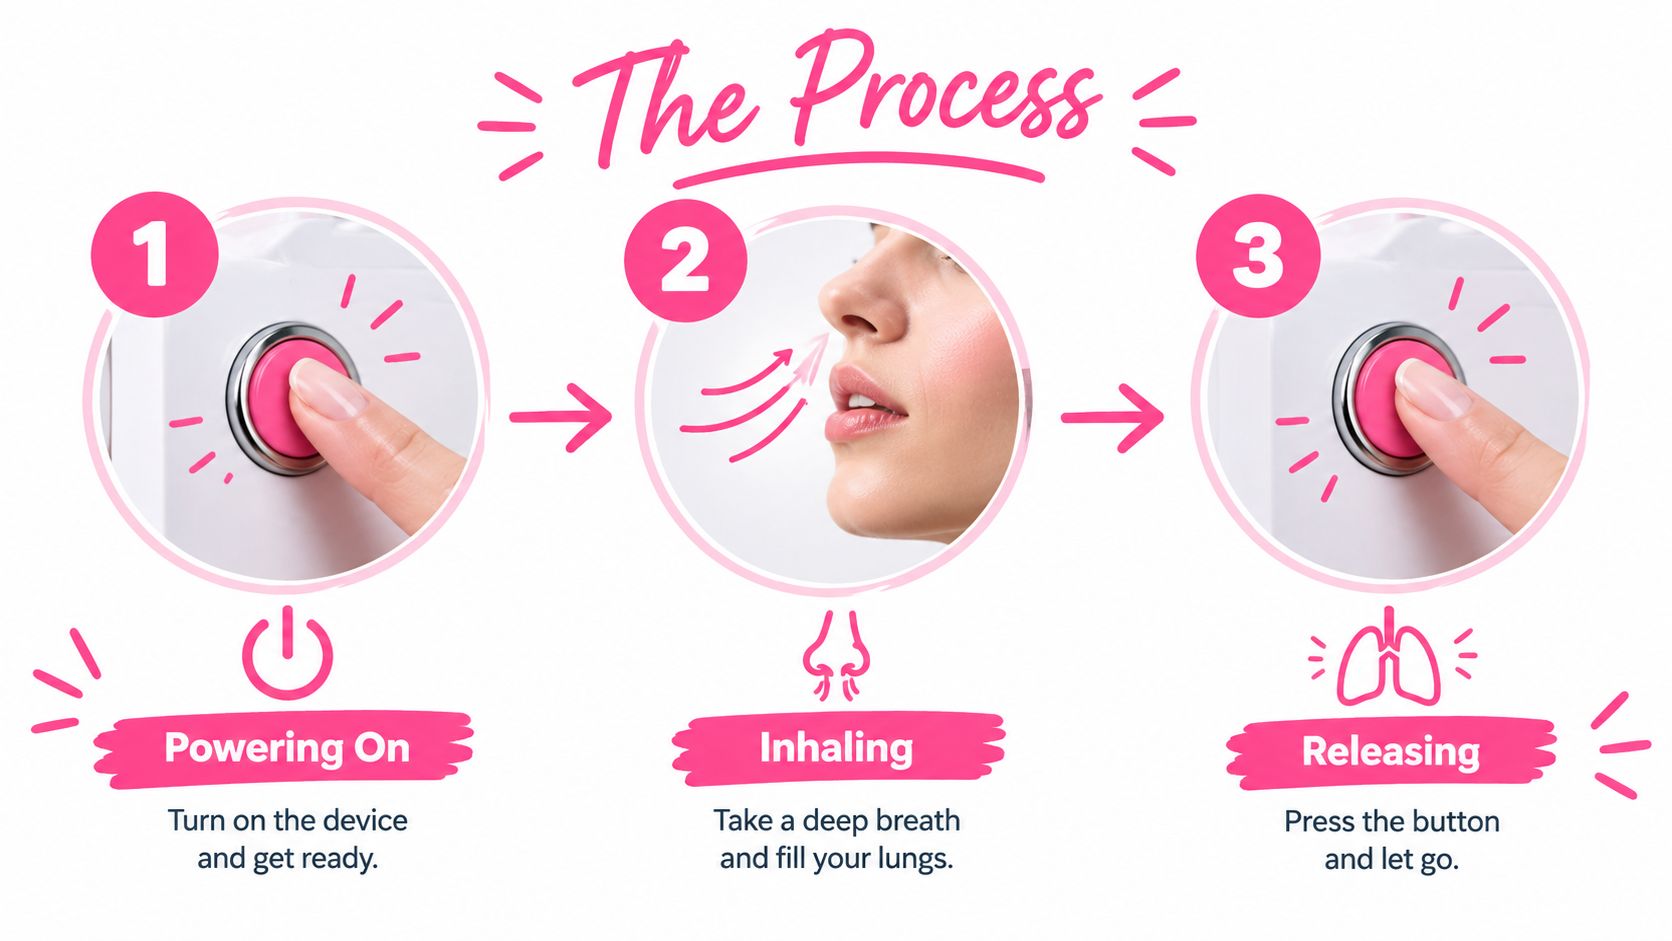
Use the button as a timed switch
On many button disposables, the most common power sequence is five quick clicks to turn the unit on or off, although the exact pattern can vary by manufacturer. Once the device is on, hold the button only while you're drawing, then release it immediately when the puff ends.
That release timing matters because the button is energizing the coil while you hold it. If you keep pressing after the inhale ends, the coil keeps heating without airflow, and that can create harshness or a burnt taste. A slow, steady draw keeps the heating cycle matched to the puff.
Keep the inhale gentle and controlled
Don't pull hard or rush the draw. A smooth inhale gives the device time to do its job without flooding the coil or overheating the chamber. If you're used to cigarette-style draws, it can help to think “steady and light” instead of “fast and forceful.”
Pause a few seconds between puffs. That gap gives the coil time to cool and helps the device recover before the next activation. If you chain puff back to back, the device has less time to reset, and the session can start to feel sharp or uneven.
Practical rule: press, draw gently, release, then wait a moment before the next puff.
If the LED lights while you fire the device, that usually means the circuit is engaged, but the exact color or flash pattern isn't universal. The printed instructions for your model still matter more than guessing at the light behavior.
The safest habit is brief button presses and calm, controlled draws. You don't need a long press, and you don't need to chase thicker vapor by holding the button longer than the puff itself.
Why Button Patterns Vary by Brand
Not every button means the same thing. Five clicks is common, but the button can also trigger lockouts, mode changes, or preheat functions depending on the brand and model.
Read the control pattern as a device language
Here's the useful mental model. The button usually controls power state, output mode, or a session function, not the nicotine content itself. That's why the instruction card matters so much, because it translates the manufacturer's chosen pattern into something you can use.
| Common Button Patterns on Disposable Vapes | Typical Action | Where It Appears |
|---|---|---|
| Five quick clicks | Power on or off | Many button-operated disposables |
| Three clicks | Mode or setting change | Some advanced disposables |
| Two clicks | Special mode toggle on select devices | Certain branded models |
| One click while held | Fire the coil during use | Standard button activation |
A user who expects every button to work like a five-click power switch can get confused fast. On one device, five clicks may wake it up. On another, the same press pattern may cycle a setting or lock the device.
Translate the instructions before you inhale
If the box says the device has a preheat, variable output, or lock feature, don't improvise. Read that language as a control map, not marketing copy. The point isn't to memorize every possible vape pattern, it's to match the button sequence to the exact unit in your hand.
A button can make a disposable feel more deliberate, but it doesn't make it simpler by default. It just gives the manufacturer more ways to control how the coil behaves inside a sealed device.
Button vs Draw Activated Disposables
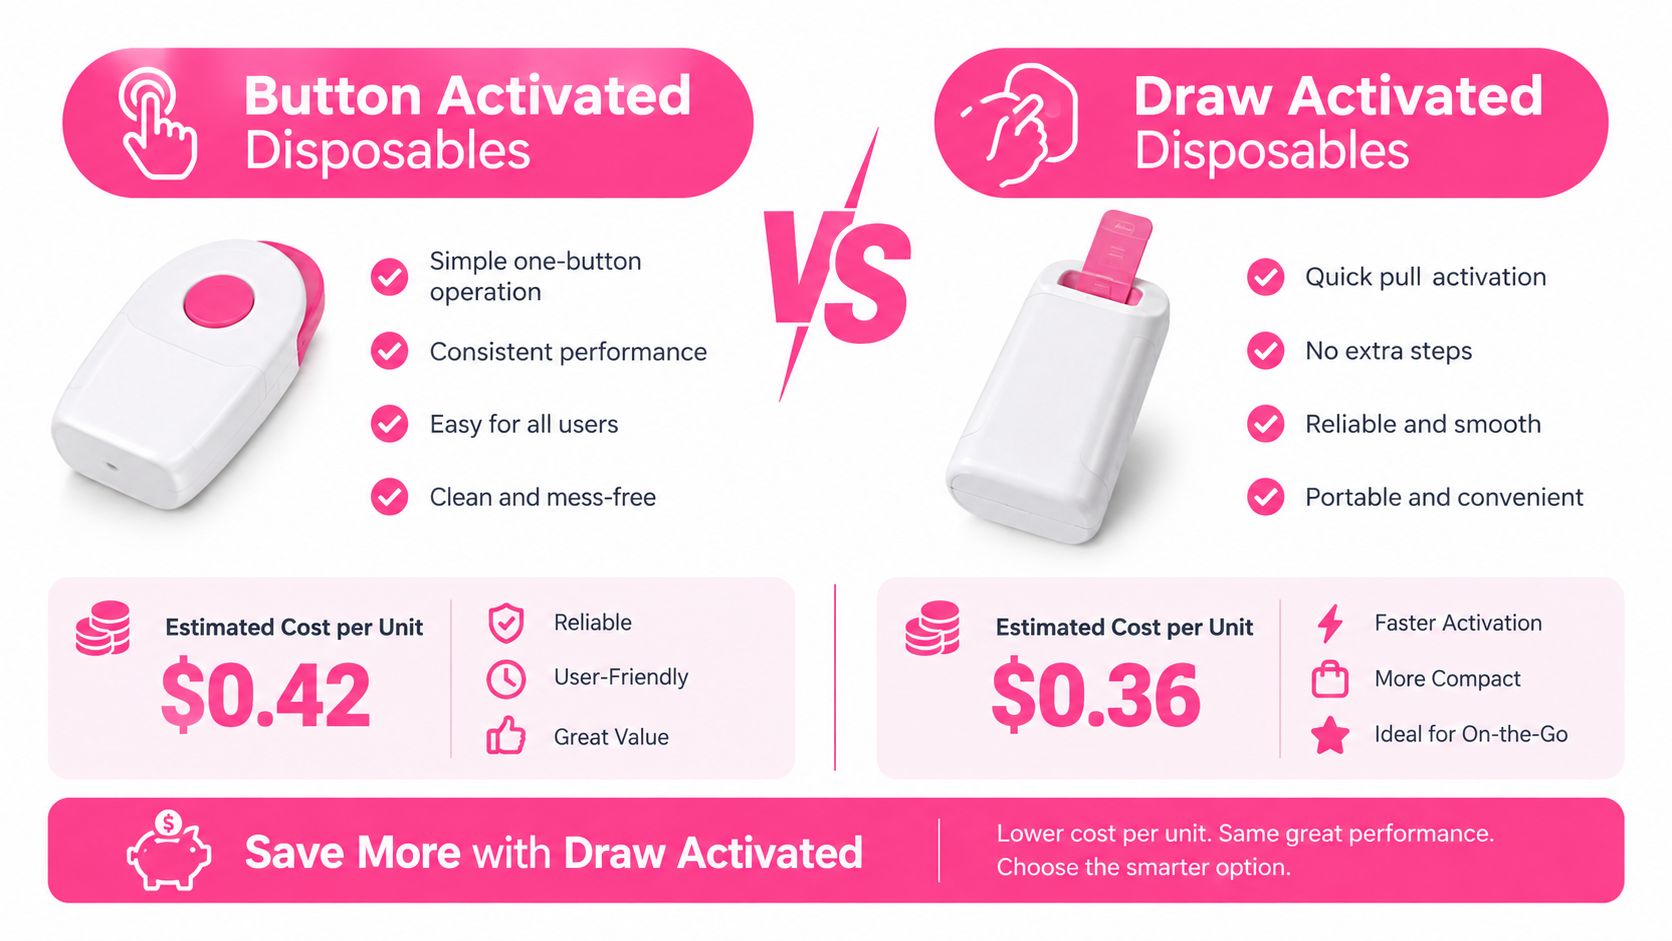
Pick the model you can read correctly
A button device asks you to do a little more work. A draw-activated device asks less of you, because the puff starts as soon as you inhale. That difference matters most when you're new and still figuring out what part of the device is supposed to respond.
| Feature | Button Activated | Draw Activated |
|---|---|---|
| How it starts | Press the button, often with a click sequence first | Inhale to activate |
| User control | More direct control over firing | Simpler, less manual control |
| What you look for | Button, indicator light, printed sequence | Mouthpiece, airflow, inhale response |
| Best for | Users who want explicit on and off control | Users who want the simplest use pattern |
A first-time user who finds buttons confusing may prefer a draw-activated model, because there's less to remember. A user who wants a firmer sense of when the coil starts may prefer a button device, because the activation feels explicit. If a device turns out to be inhale-only, ignore the button search and follow the airflow instead.
Match the action to the hardware
If you switch between formats, don't carry habits from one device into the other. A five-click habit won't help on a draw-activated disposable, and an inhale-only motion won't do anything on a locked button model. The hardware decides the method, not your memory.
This is also the point where a shop label or product page can save time. Pink Smoke Shop carries adult vaping products with model details on the product page, so you can check whether a disposable is button-operated or draw-activated before you buy or open it.
Charging Reusable Button Disposables Safely
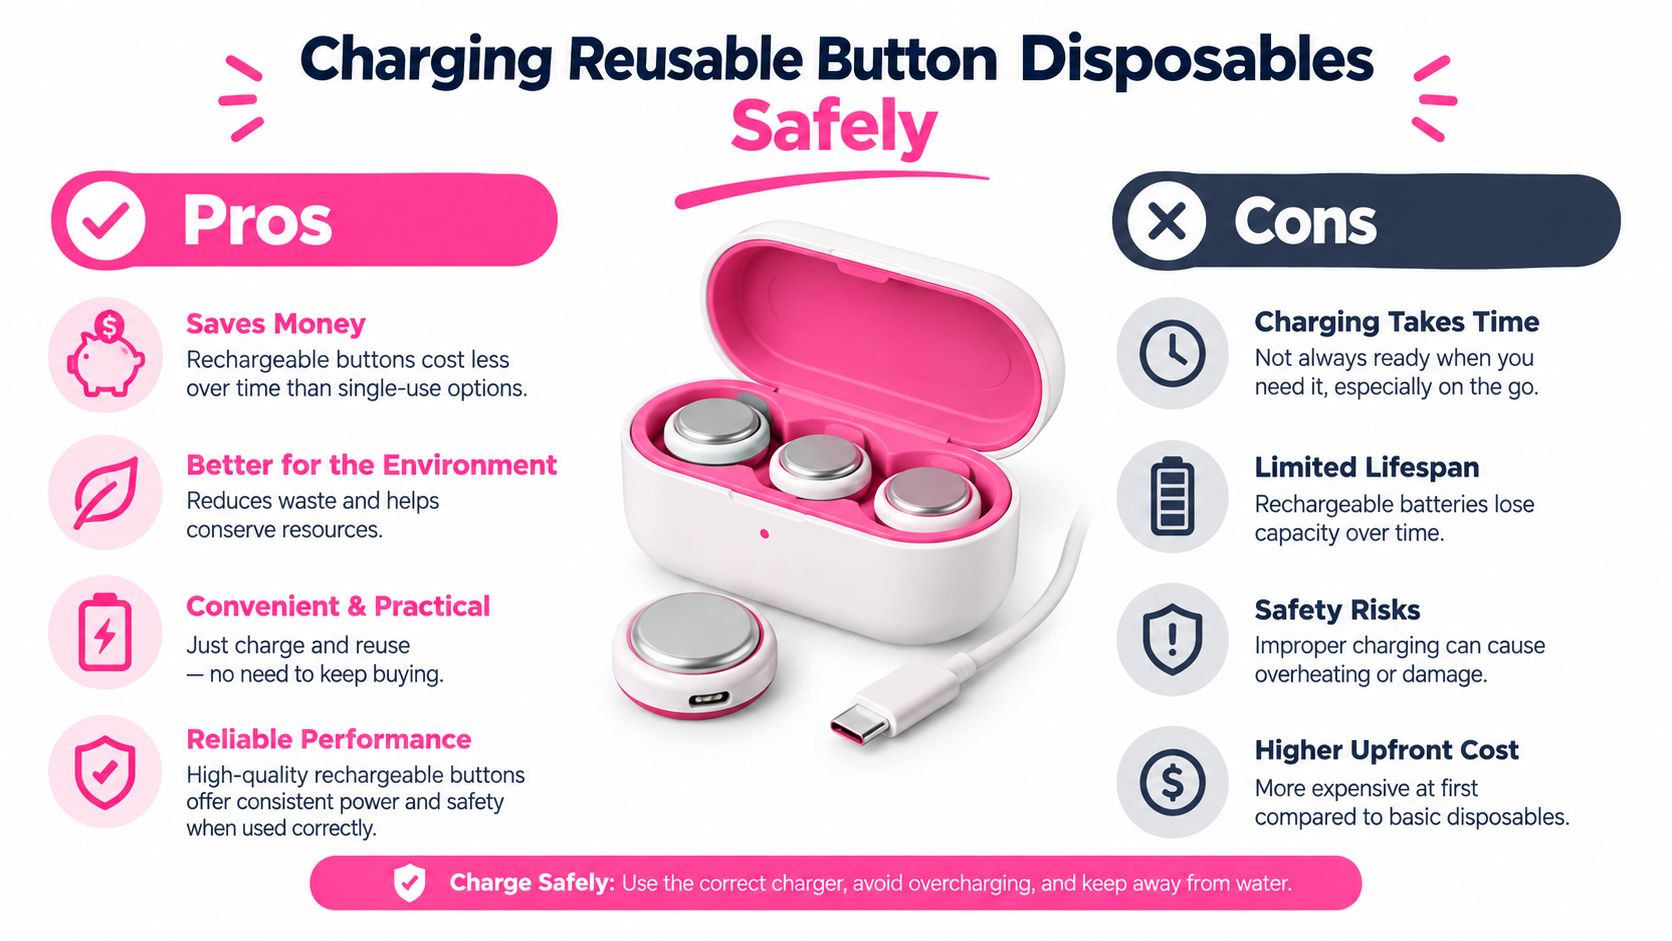
Charge only when the device is actually designed for it
Some disposables include a charging port, but that doesn't mean every disposable should be charged. Use a rechargeable button model only if the manufacturer clearly says it's rechargeable and gives charging instructions for that exact device. Never add a charger to a sealed non-rechargeable unit.
If the model does support charging, use only the specified cable or a manufacturer-approved cable. Charge on a hard, nonflammable surface while you're awake and present, and unplug the device when charging is complete. Keep it off bedding, out of clothing, and away from a vehicle cabin where heat can build up.
Stop charging at the first warning sign
A warm device isn't the same as a damaged one, but rapid heat, swelling, smoke, odor, hissing, cracking, or a change in shape is different. If any of those show up, disconnect safely if you can do so without handling a hot or unstable unit, then move away and follow emergency procedures if fire develops.
Do not carry a charging device loose with keys or coins, because metal objects can create a short if contacts are exposed. Also avoid modifying the enclosure or bypassing protections, since the protection circuitry is part of how the unit manages heat and power.
Practical rule: if the model doesn't explicitly support charging, it doesn't get charged.
For a deeper look at rechargeable disposables as a category, Pink Smoke Shop also has a separate rechargeable disposable vape guide. It's useful when you're comparing a sealed, single-use unit with a rechargeable button model that needs a charging routine.
Troubleshooting and End of Life
A device that won't fire isn't always dead, but it's also not always worth forcing back to life. Start by asking whether the problem is a simple setup issue, then decide whether the device should be retired.
Know the difference between a fixable hiccup and a retire-now problem
If the light blinks, the device may be locked, low on power, or signaling an internal fault. If it feels weak, gurgly, or tastes burnt, the coil or airflow may be at the end of its useful life. If it leaks, gets hot, swells, or activates on its own, stop using it immediately.
Here's the useful split: try basic checks for a device that seems locked or unresponsive, but retire anything that looks physically compromised. A sealed disposable combines leftover liquid with a lithium battery, so a damaged unit is more than just “empty.”
Store it safely until you can dispose of it correctly
Keep the device away from children, pets, heat, and water. Don't dismantle it, don't try to remove the battery from a sealed unit, and don't toss it into ordinary household trash or recycling if your local waste authority classifies it as hazardous waste.
EPA guidance treats e-cigarettes as hazardous waste because they contain nicotine and lithium batteries, and it recommends taking them to a household hazardous-waste collection site instead of attempting battery removal (EPA disposal guidance). If you want a broader battery-handling reference for transport and recycling context, Reworx Recycling also summarizes DOT transport rules for battery shipments.
Use the local rule, not a guess
Disposal rules vary by city and state, so your local waste authority should have the final word on where a sealed disposable goes. If the device is swollen, cracked, leaking, or hot, isolate it without dismantling it and keep it away from anything flammable until you can follow local disposal guidance.
Pink Smoke Shop also has a blinking light guide for disposable vapes if you're trying to separate a lockout signal from a true end-of-life problem.
If you want help choosing a button-operated disposable that matches the way you vape, visit Pink Smoke Shop and review the product details before you buy. You'll find adult-oriented device listings, model information, and related vape guides that make it easier to compare button and draw-activated options with confidence.